Getting Started
Before installing Iray for 3ds Max, ensure your system matches the System Requirements.
Installing Iray
- Open Iray for 3ds Max Installer.
- If you already have a version of the plugin installed, the installer will ask you whether to remove it first. It is recommended that you uninstall any existing versions of the plugin.
- Select Next to start the installation progress and view the License Agreement.
- The Installer will attempt to install to the Plugins directory of 3ds Max in the Program Files directory. (e.g. C:\Program Files\Autodesk\3ds Max 20**\plugins).
- If the folder already exists, the Installer will ask you to confirm that you would like to install to that directory.
- When installation is complete select Finish.
Choosing Iray+ as your renderer
Iray for 3ds Max includes 2 renderers, Iray+ and Iray+ Interactive.
Iray+ delivers the best results and is a good choice as your production renderer. Iray+ Interactive allows easier navigation with faster results and is a good choice as your ActiveShade renderer.

- In 3ds Max, choose the Rendering > Render Setup… menu item.
- Choose the Common tab and scroll to the Assign Renderer group.
- In the Production renderer dialog, assign Iray+ or Iray+ Interactive.
- In the ActiveShade renderer dialog, assign Iray+ or Iray+ Interactive.
This will enable all Iray options within Render Setup and the Material Editor.
Ensuring Material Accuracy
Materials in Iray are designed with size accuracy in mind. To ensure materials display at an accurate scale:
- Select Customize > Preferences in the 3ds Max menu bar.
- Under the General tab, ensure the Use Real-World Texture Coordinates checkbox is ticked.
- Select OK to confirm the change.
Downloading Material Libraries
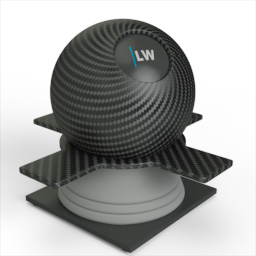
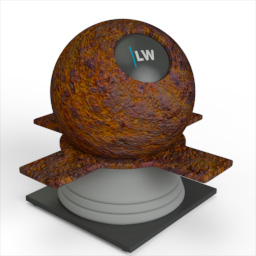
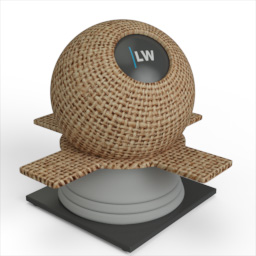
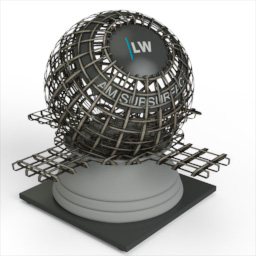
Iray for 3ds Max makes hundreds of materials available to use in your work. See the Material Libraries page to download these.
▲
Next: Feature List
Page Last Edited:
